Magnetic Particle Inspection
Magnetic particle inspection processes are non-destructive methods for the detection of surface, near-surface and sub-surface defects and flaws in ferrous and ferromagnetic materials.
A magnetic field is applied to the item to be tested, either locally or overall, using a permanent magnet, electromagnet, flexible cables or hand-held prods. If the material is sound, most of the magnetic flux is concentrated below the material’s surface. However, if a flaw is present, such that it interacts with the magnetic field, the flux is distorted locally and ‘leaks’ from the surface of the specimen in the region of the flaw.
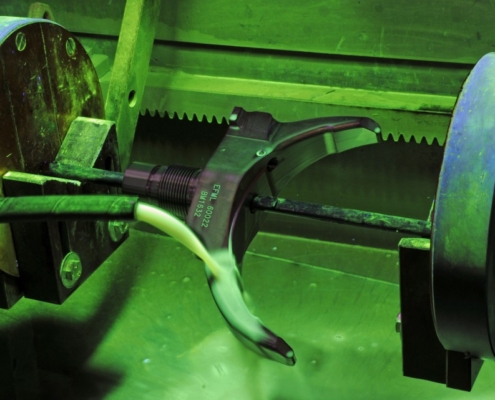
Fine magnetic particles, applied to the surface of the specimen, are attracted to the area of flux leakage, creating a visible indication of the flaw. The materials commonly used for this purpose are black iron particles and red or yellow iron oxides. In some cases, the iron particles are coated with a fluorescent material enabling them to be viewed under a UV lamp in darkened conditions.
Magnetic particles are usually applied as a suspension in water or paraffin. This enables the particles to flow over the surface and to migrate to any flaws. On hot surfaces, or where contamination is a concern, we may use dry powders as an alternative to wet inks. On dark surfaces, a thin layer of white paint is usually applied, to increase the contrast between the background and the black magnetic particles. The most sensitive technique, however, is to use fluorescent particles viewed under UV (black) light.
MPI is particularly sensitive to surface-breaking or near-surface cracks, even if the crack opening is very narrow. However, if the crack runs parallel to the magnetic field, there is little disturbance to the magnetic field and it is unlikely that the crack will be detected. For this reason it is recommended that the inspection surface is magnetised in two directions at 90° to each other. Alternatively, techniques using swinging or rotating magnetic fields can be used to ensure that all orientations of crack are detectable.
Common applications:
- Cracking welded joints
- Areas identified as being susceptible to environmental cracking (e.g. stress corrosion cracking or hydrogen induced cracking), fatigue cracking or creep cracking
- Heated treated surfaces by Fluorescent MPI for fine flaws and defects

